2. Setting up the plugin
Swiss Post offers two different interfaces for Barcode: Barcode via the Digital Commerce API and Webservice Barcode. The plugin is compatible with both interfaces.
For the plugin to work an integration contract with the Swiss Post for Barcode via the Digital Commerce API or the Webservice Barcode is required. Please register for Barcode on one of the following page if you don’t have a contract yet:
Log into the backend of your WordPress website and go to “Barcode > Settings”.
2.1 Main Settings
These settings are required to use the label editor. Depending on the API (above) different settings are required.
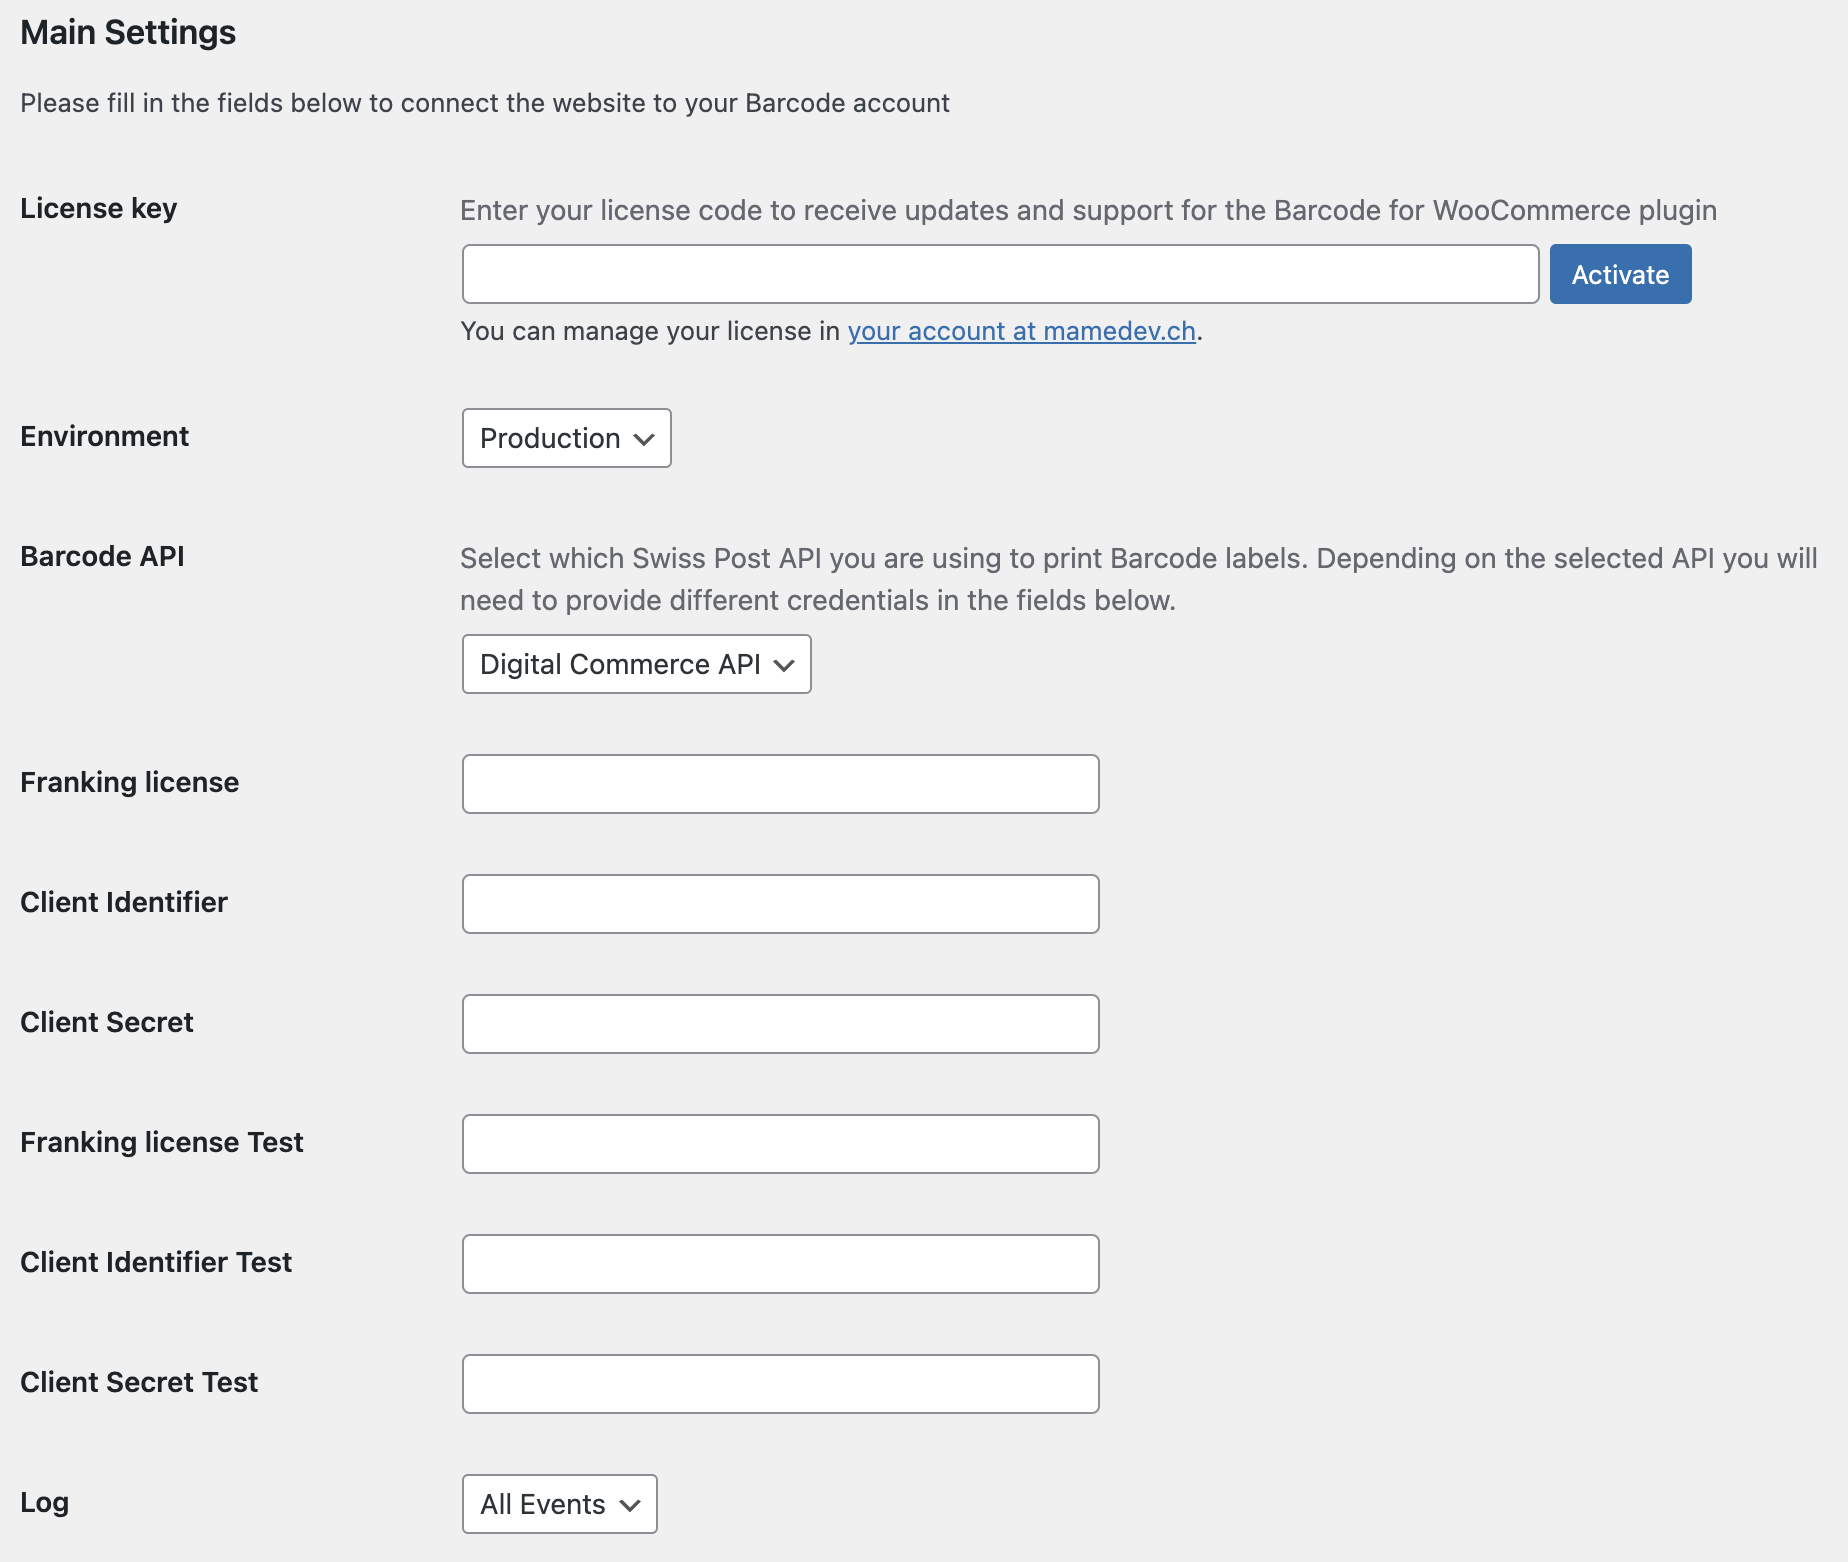
License key
Enter the license key for the plugin “Barcode for WooCommerce” to receive updates and support for the plugin. Then click “activate”.
An activation of a license may fail for the following reasons:
- The limit of the number of websites the license can be activated for is reached or the license is used for another domain. You can manage your license and remove websites from the license in your account at mamedev.ch.
- The license has expired. Visit mamedev.ch and renew your license or buy a new license.
Environment
Choose test to connect your website to a test API for test orders. Choose production to connect it to a production API for live orders.
Barcode API
Select the API you are using for Barcode (Barcode via the Digital Commerce API or the Webservice Barcode).
The following information is required for the Webservice Barcode:
- Franking license
- Technical username
- Password
The following information is required for Barcode via the Digital Commerce API:
- Franking license
- Client Identifier
- Client Secret
You will receive this information from Swiss Post.
Logs
Select if and which logs should be written. Logs can be written for all events or for errors.
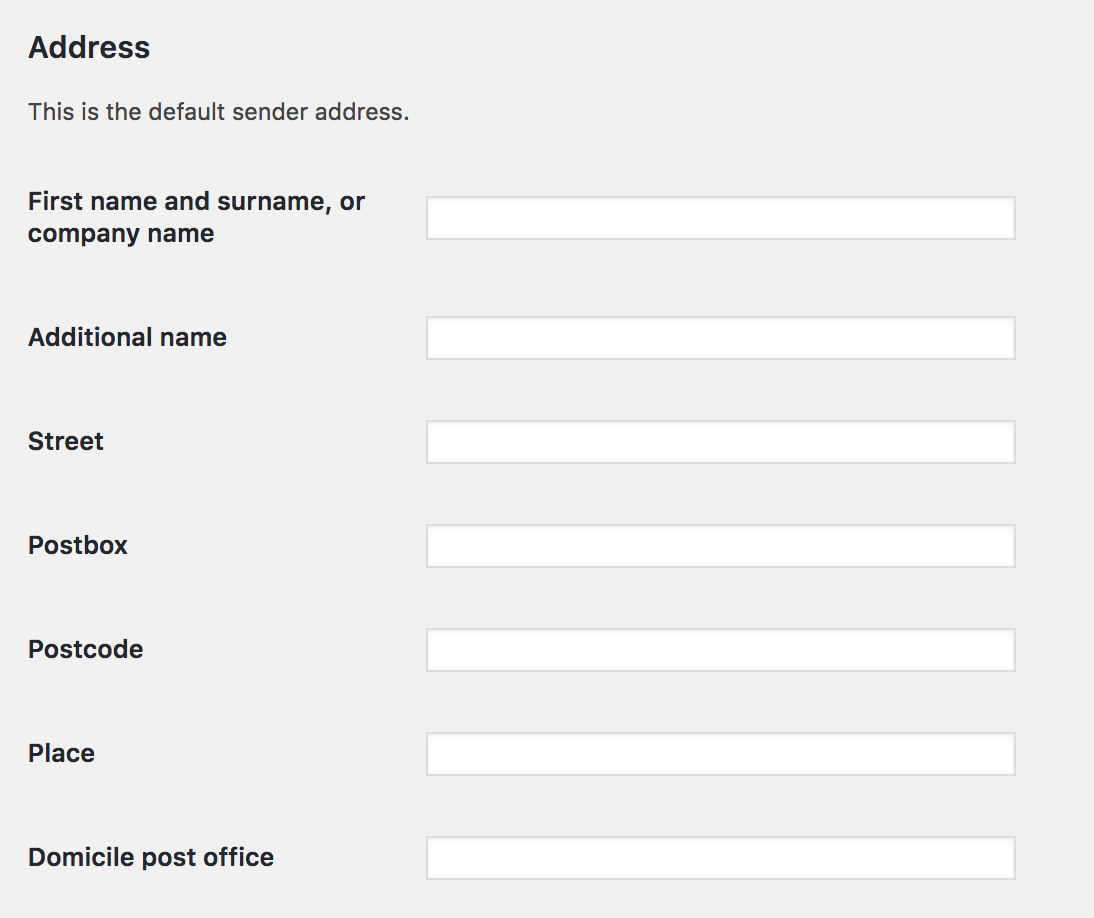
2.2 Address
Here you can set the standard sender address to be used on labels. This address can then be used in templates and automatically inserted into labels.
2.3 Label settings
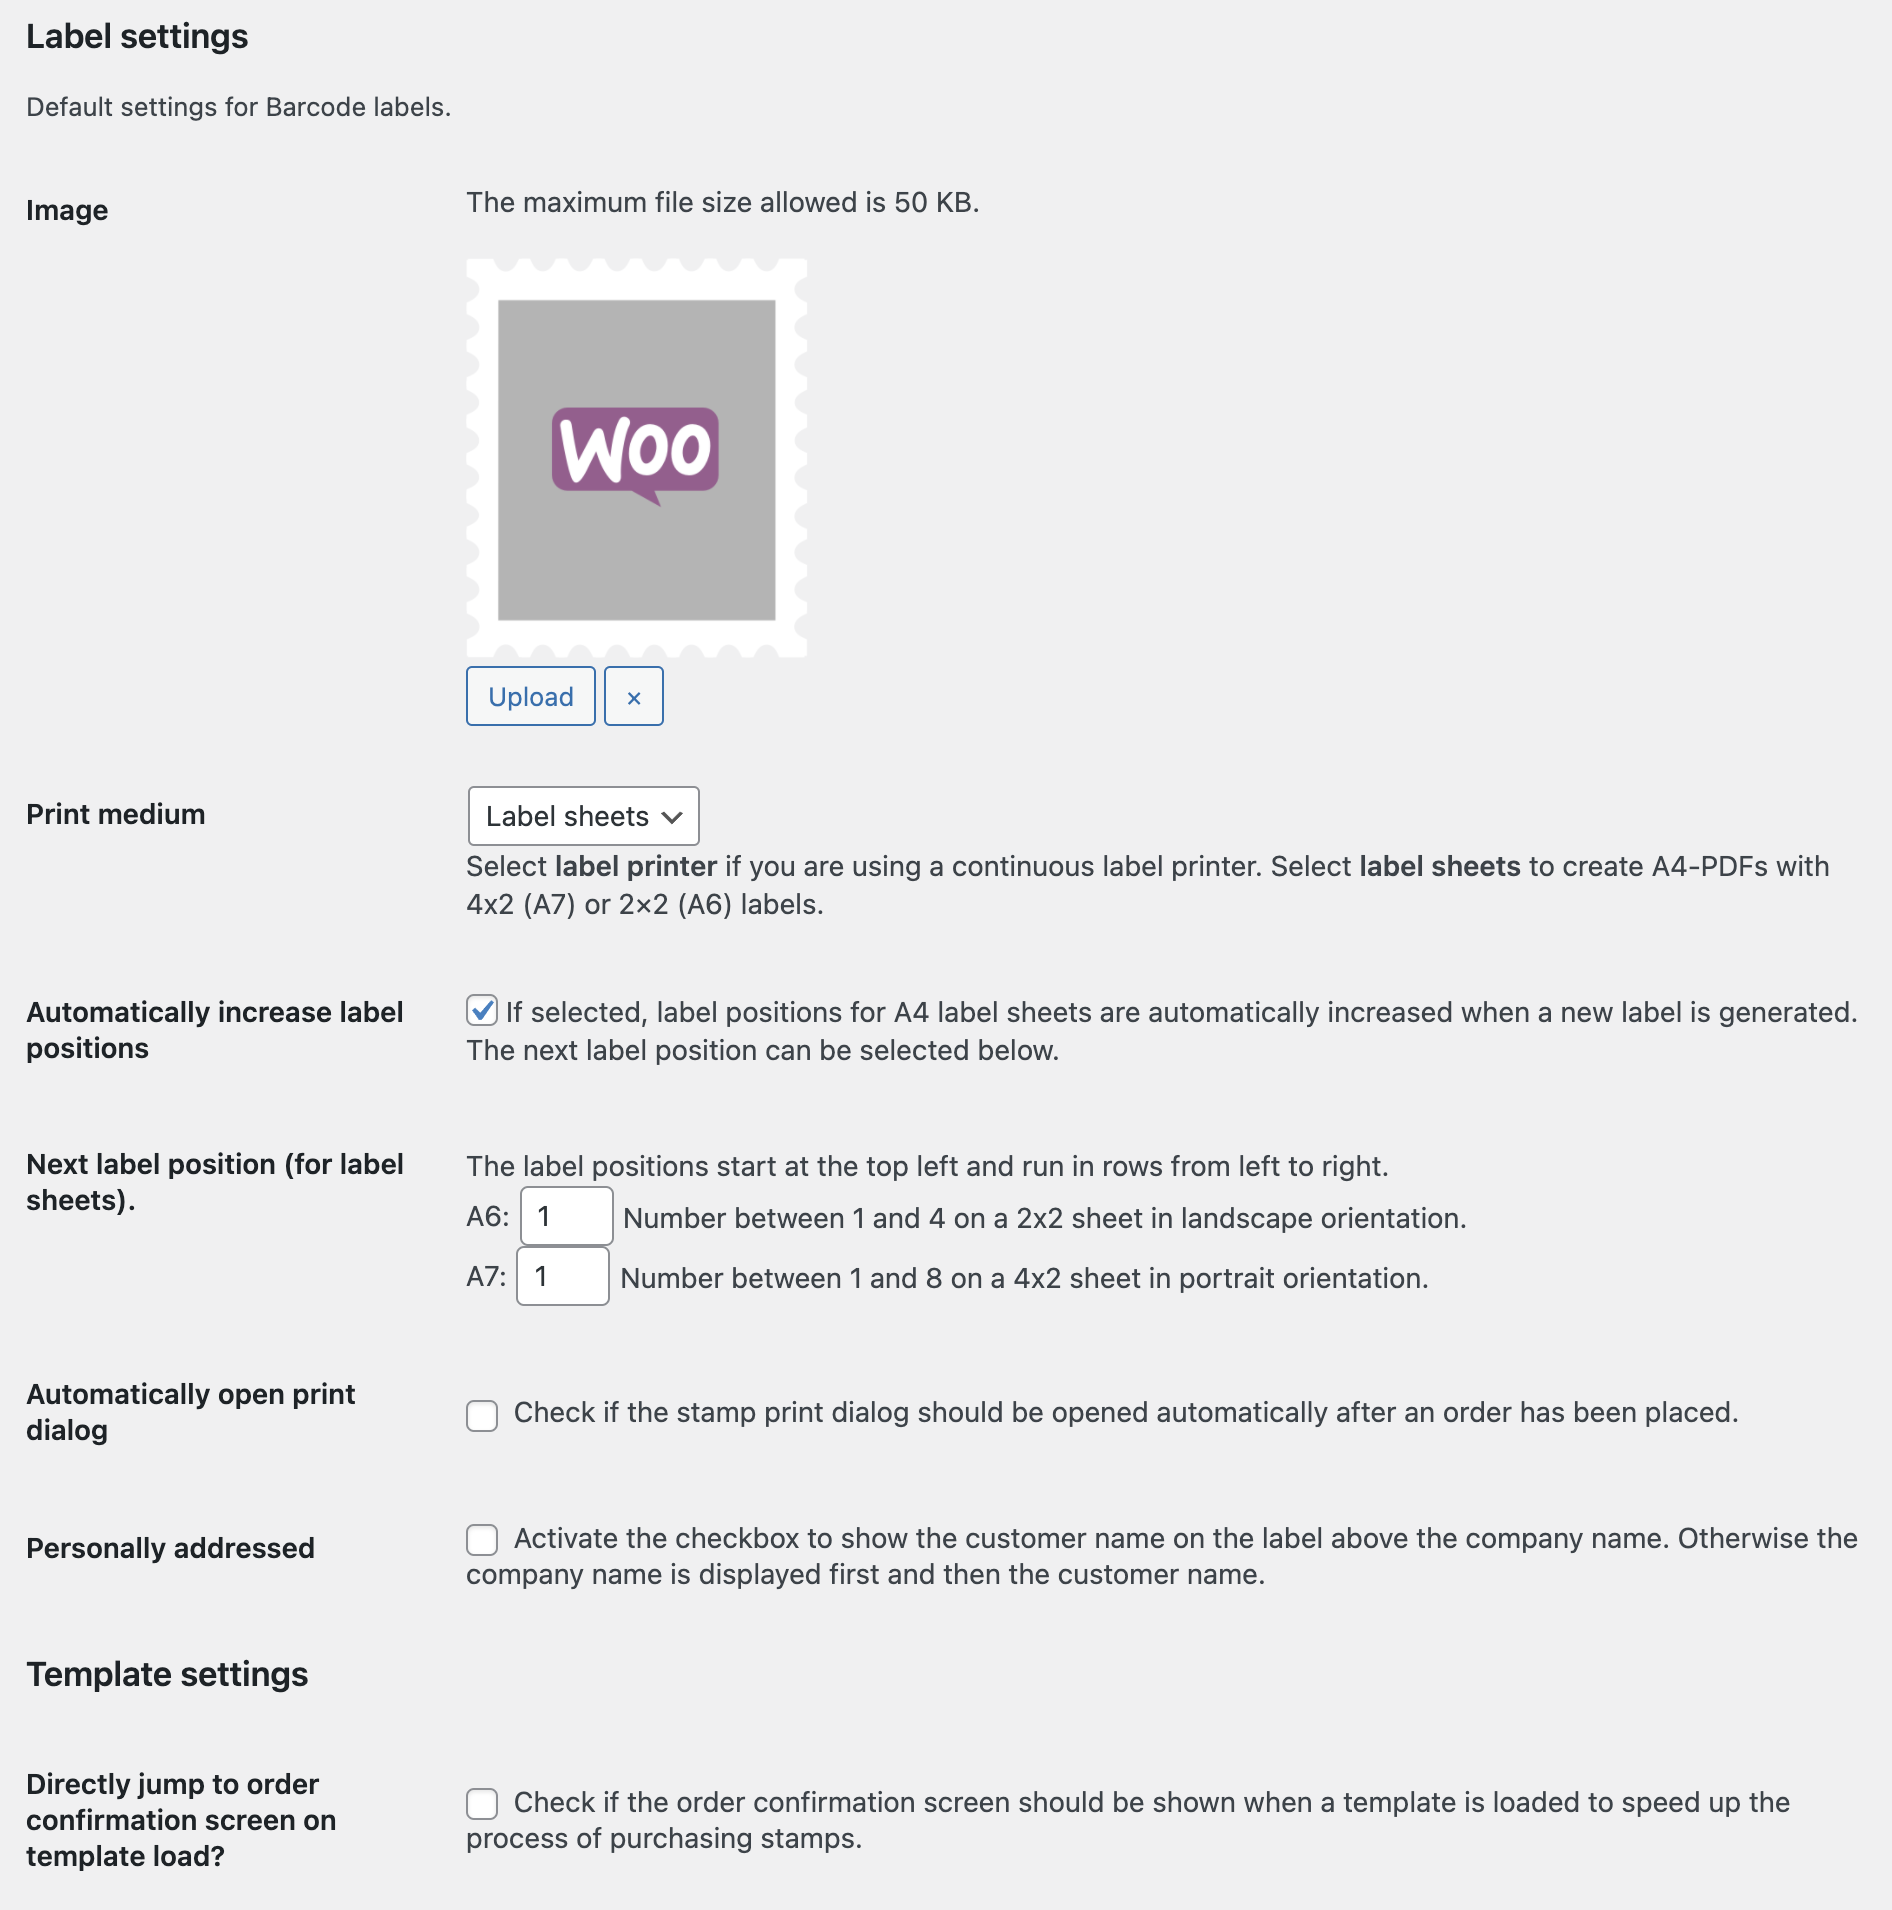
Image
Here you can upload a standard image to be used on labels. You can also change the image individually for each label in the editor. The maximum file size is 50KB. If possible, upload a square image so that the image is not cropped.
Print medium
Here you can select whether labels are printed with a label printer or on label sheets.
Depending on the selected print medium, different options are available (below, marked with [Label printer] or [Label sheets]).
Label file type [Label printer]
If “Label printer” is selected, you can choose whether the labels should be created as PDF or PNG. In order to integrate labels into other documents (e.g. delivery notes), the PNG format must be selected.
Automatically increase label positions [Label sheets]
For the medium label sheets, the position of the labels can be automatically increased when a new label is created, so that the next label is printed at the following position. 8 labels (4×2 portrait format) can be printed for A7 labels and 4 labels (2×2 landscape format) for A6. In the “Next label position” field below you can set the position at which the next label is to be printed.
Next label position [Label sheets]
If the “Automatically increase label positions” field is activated, the next positions of the labels on an A4 sheet can be defined here. There are 8 positions for A7-size labels and 4 positions for A6-size labels.
Automatically open print dialog
If this option is checked the print dialog will automatically be opened after a Barcode order.
Personally addressed
If this option is activated, the customer name is printed above the company name, otherwise below.
2.4 Template settings

Directly jump to order confirmation screen on template load?
When loading a template (via the editor or a WooCommerce email) this option will automatically redirect to the last order step to complete the order with one click.
2.5 WooCommerce settings
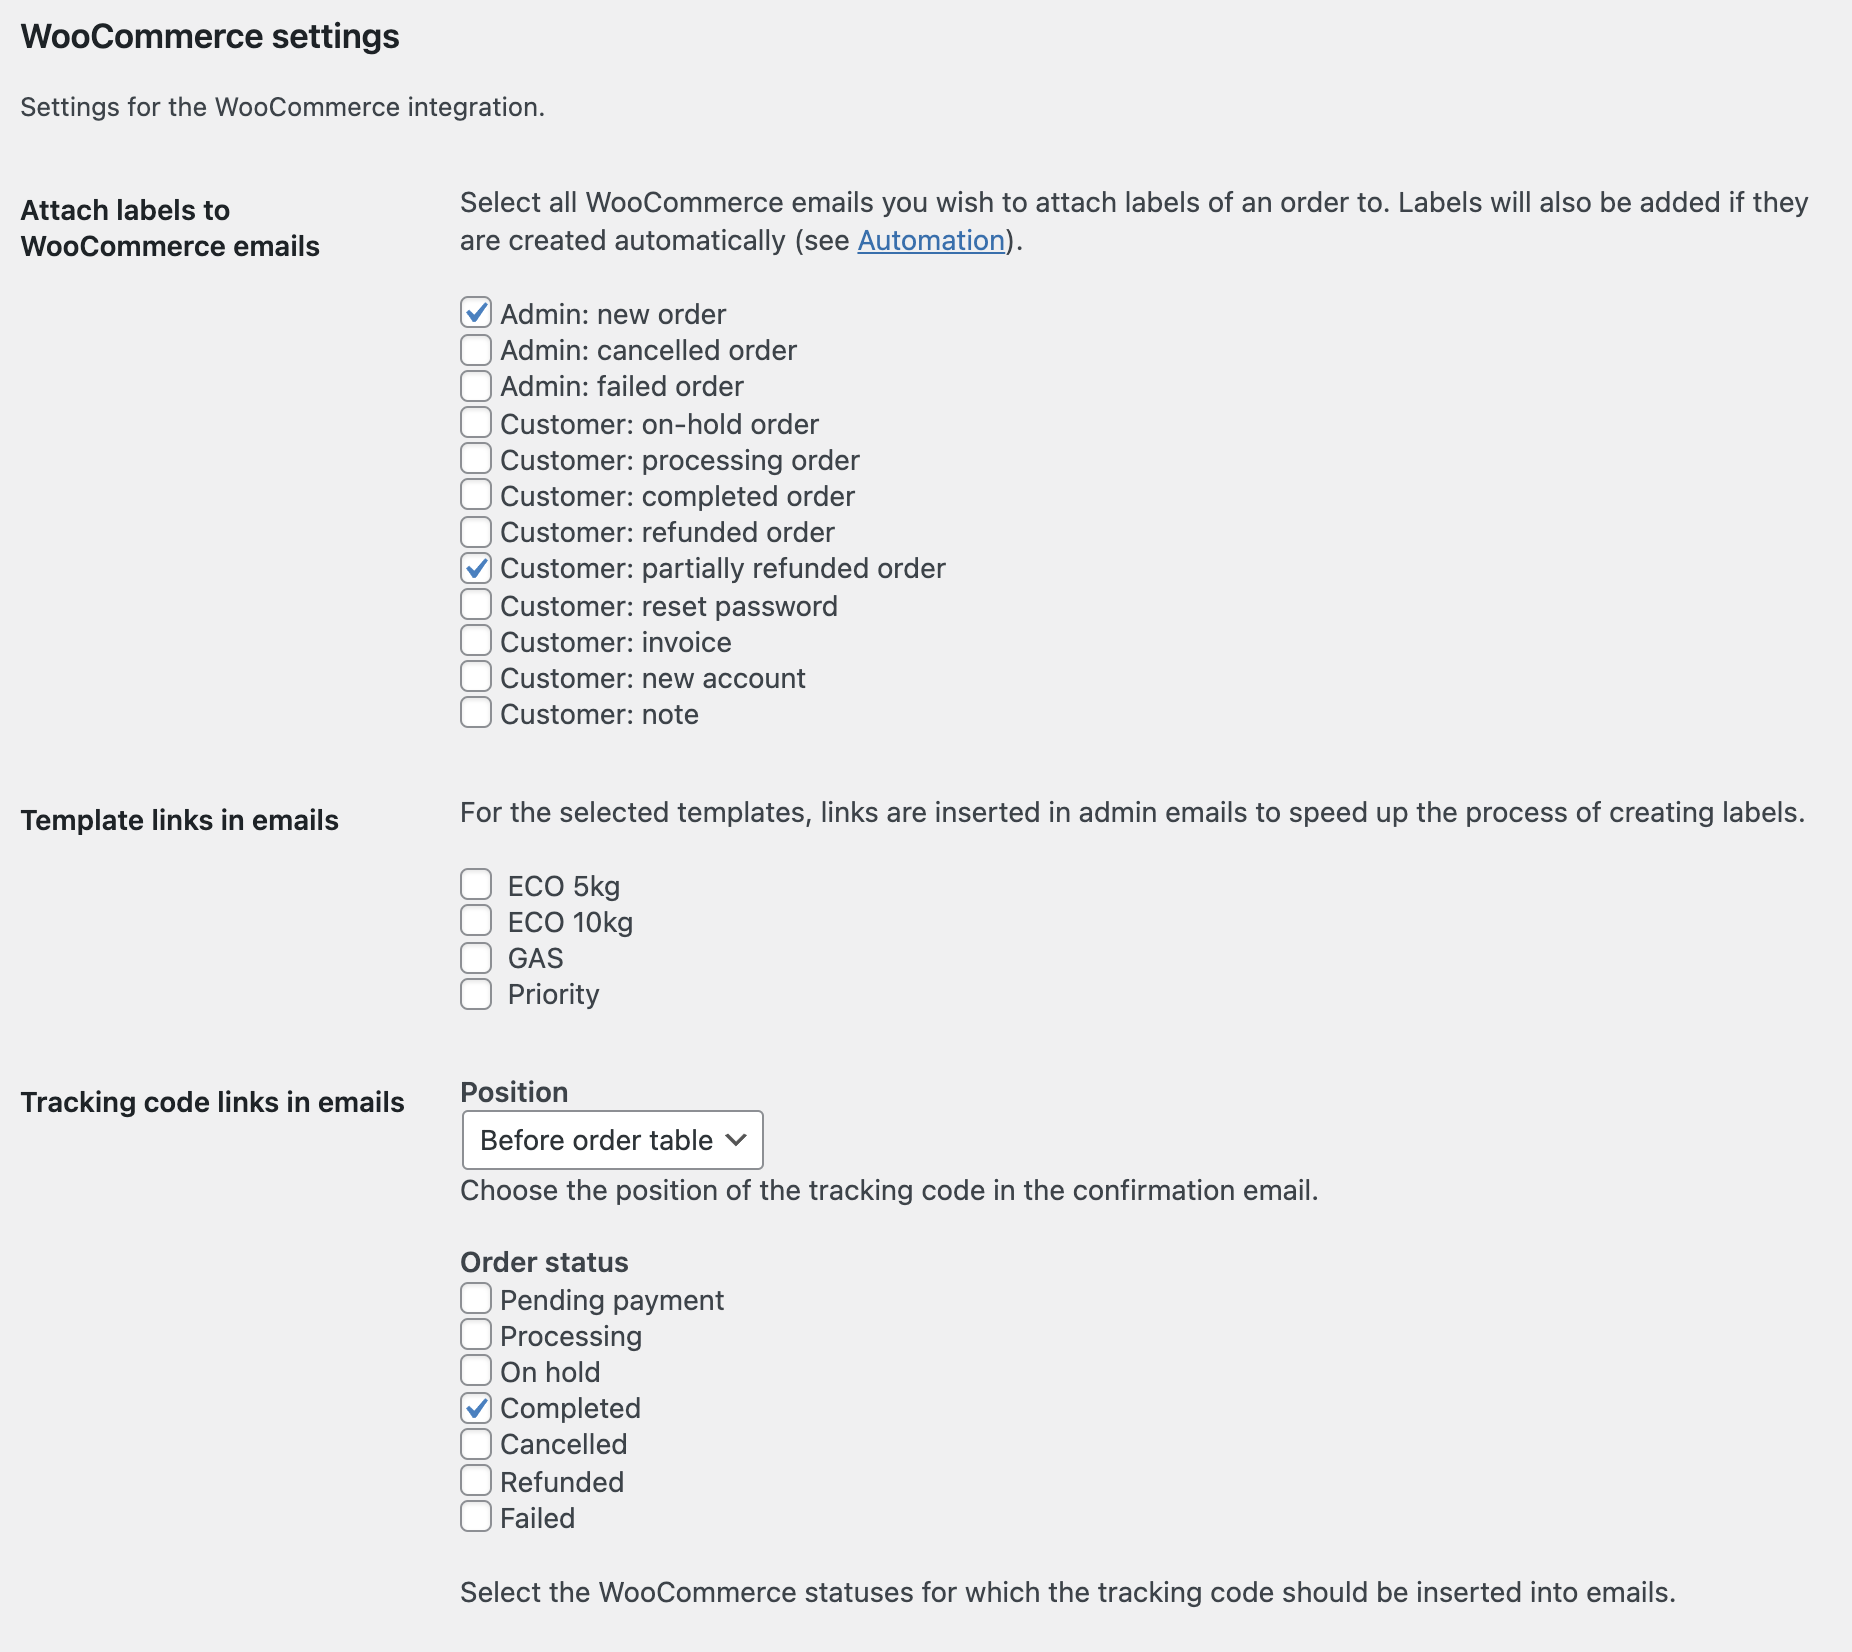
Attach labels to WooCommerce emails
Choose which WooCommerce emails to attach labels to. The labels must already exist at the time of the email or be automatically created using the appropriate status. For more information about automatically creating labels, see Automation automatically create labels for WooCommerce orders.
Template links in emails
Select templates from the list of saved templates to include links into WooCommerce order confirmation emails (to admins) to load the templates directly.
Tracking code links in emails
Choose at which status tracking numbers should be inserted in WooCommerce emails to customers. Tracking numbers will only be included if labels are present at the time of the email.
Field assignments
The field assignments can be used to assign WooCommerce checkout fields to barcode fields. Additional custom fields, e.g. added by a plugin, can also be selected.
The assignment can be used to automatically load addresses of a WooCommerce order into Barcode fields using a template. Which address should be loaded can be determined individually for each template under “Barcode> Templates”. In order to load your own assignment, you have to select the “Custom assignment” option in the “Recipient: load WooCommerce address” field in the template settings.
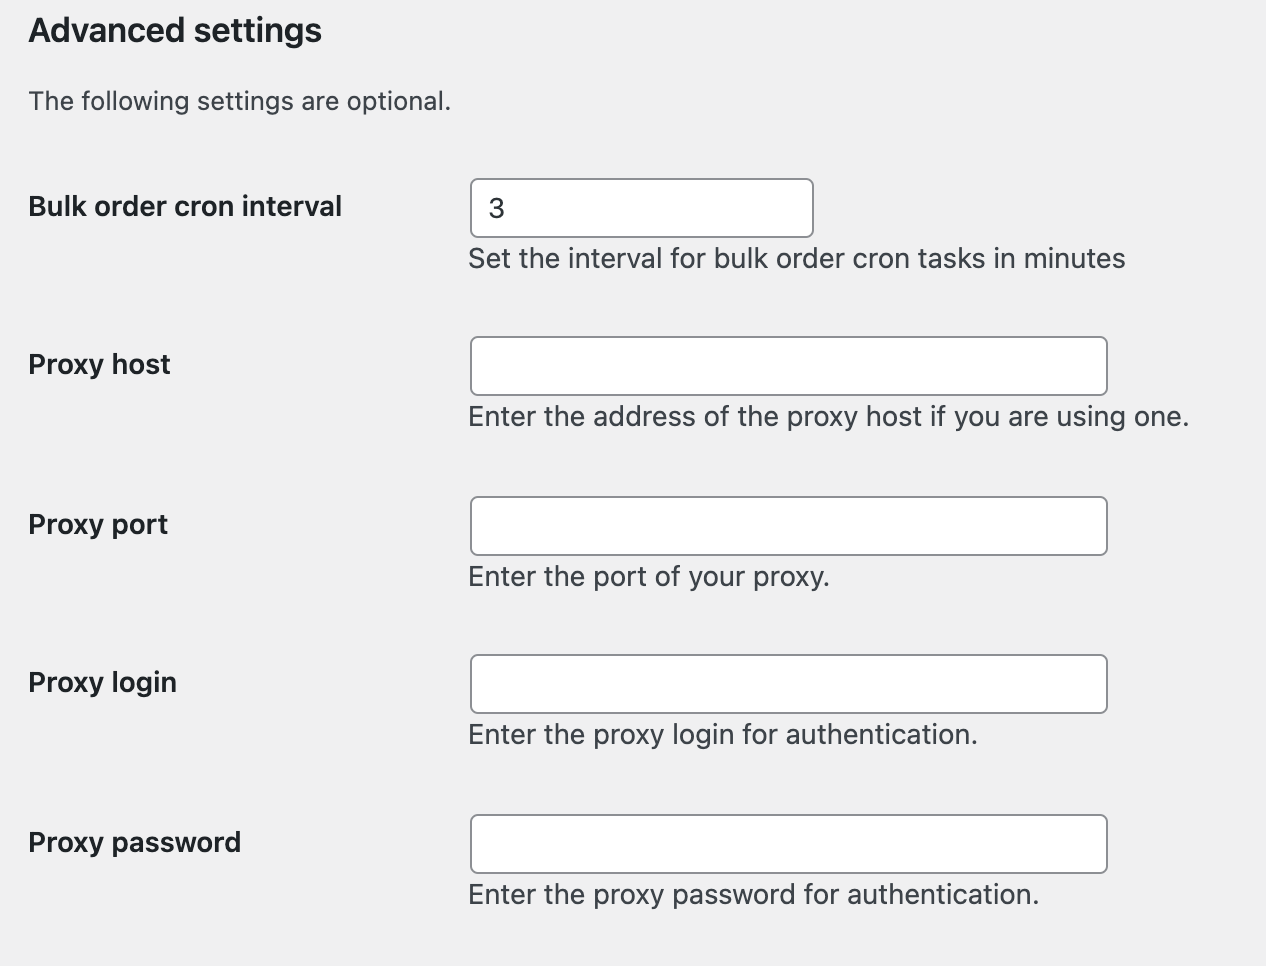
2.6 Advanced settings
These settings are optional.
The cron interval determines the interval (in minutes) at which bulk orders are processed in the background (only for bulk orders via the Digital Commerce API).
The proxy settings are only required if a proxy is connected to the server on which the website is hosted. This is usually not the case with web hosting from the larger providers.